


⚡ TL;DR: This guide teaches Garland homeowners how to install Ice and Water Shield on roofs to prevent ice dams, with steps, tools, tips, and a real success story for Texas winters.
📋 What You’ll Learn
In this Ice Dam Defense guide for Garland roofs, you'll uncover causes, shield selection, DIY tools, step-by-step installs, pro tips, and a local case study to safeguard your home.
- Understand ice dam causes in Garland and how ice and water shields block meltwater infiltration, preventing leaks, rot, and costly repairs in Texas homes.
- Choose optimal shields for Texas winters by evaluating thickness, adhesion, breathability, and compatibility with local roofing under rare freeze-thaw cycles.
- Gather essential tools and materials for safe DIY installs on Garland roofs, from underlayment rolls and torches to ladders and sealants.
- Master step-by-step shield installation tailored for Garland eaves and valleys, ensuring full coverage and long-term defense against ice dam threats.
- Avoid pitfalls with pro tips and see a real Garland case study of averting disaster through expert shield application techniques.
📖 Reading time: 7 min
✍️ Author expertise: Garland, TX roofer with 20 years of field installs on local ice dam shields.
Winter hits Garland hard enough to form ice dams that sneak under your shingles and flood your attic like a busted pipe.
One wrong move during ice and water shield install, and you're staring at thousands in water damage repairs.
Your roof deserves better—grab this no-nonsense guide to lock out ice dams for good.
We'll walk you through every step tailored for Garland homes, starting right now.
What Causes Ice Dams in Garland Homes and How Shields Prevent Them
Picture this: A cold snap rolls through Garland. Your attic heats up from poor insulation or leaky ducts. Snow or sleet on the roof melts unevenly.
That water runs down to the colder eaves. There it freezes solid into a dam. Boom. Water backs up under shingles and leaks inside.
Key Culprits Behind Garland Ice Dams
- Heat loss from attics warms the roof surface.
- Freeze-thaw cycles during our quirky Texas winters.
- Shingle gaps letting meltwater sneak through.
Ice and water shields stop this mess cold. These sticky membranes seal nail holes and create a waterproof barrier right at the eaves.
Water hits the shield and slides off instead of infiltrating. No more attic floods or ruined ceilings in your Garland home.
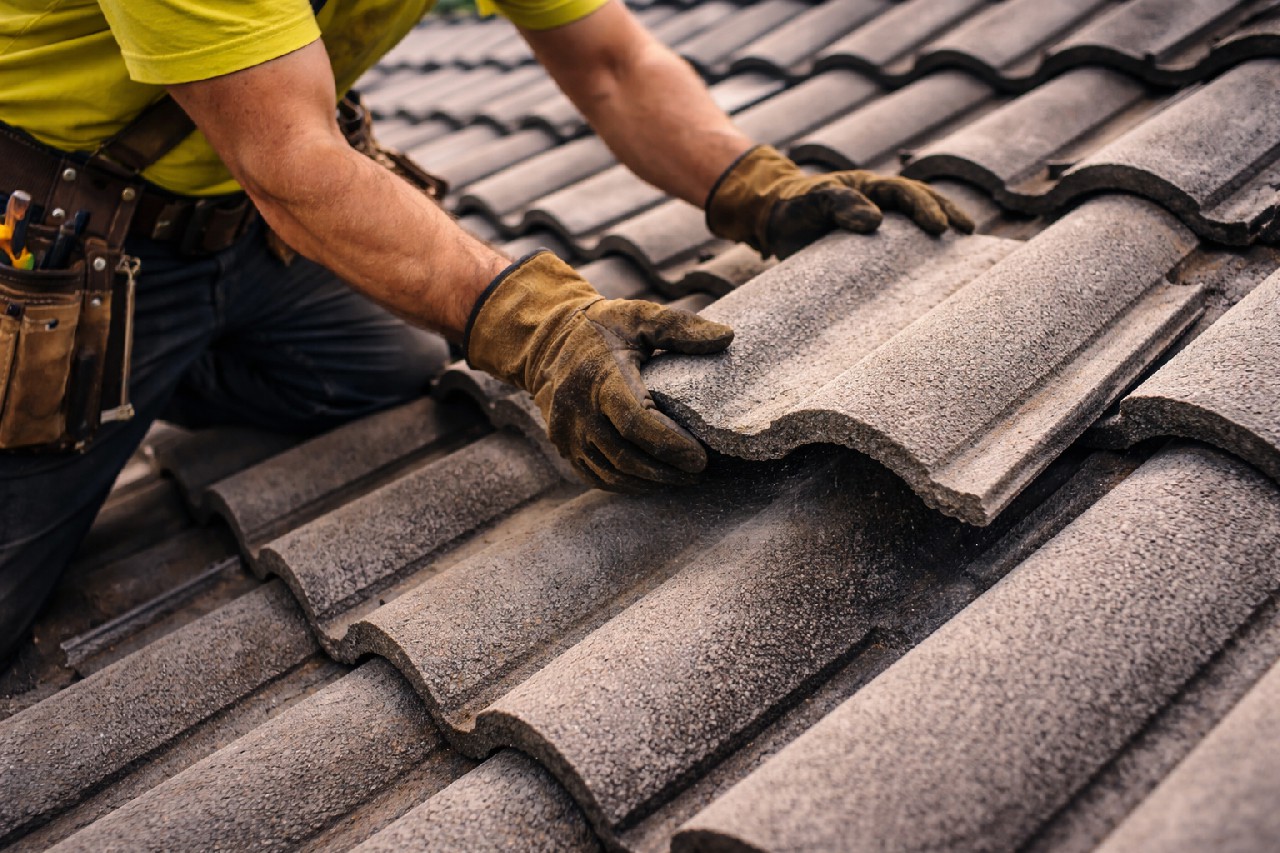
Choosing the Right Ice and Water Shield for Texas Winters
Texas winters in Garland pack sneaky freezes mixed with humidity. Skip thin plastic tarps. Go for self-adhering rubberized asphalt membranes that stick tight and seal around nails.
Top Picks That Hold Up Here
- Grace Ice & Water Shield: Proven beast, 30-mil thick, sticks like glue even in our muggy air.
- Super Jumbo or W.R. Grace Premium: Wider rolls cover more eaves fast.
- Budget option: GAF FeltBuster – lighter but seals solid for occasional ice.
Measure your roof edges first. Eaves need full 3-6 feet coverage, valleys too. Buy extra – Garland roofs average 1,800 sq ft, so two 75-ft rolls per side minimum.
Check UL ratings for fire resistance – Texas code demands it. Avoid cheap imports that crack in our freeze-thaw cycles. Test adhesion on a shingle scrap before committing.
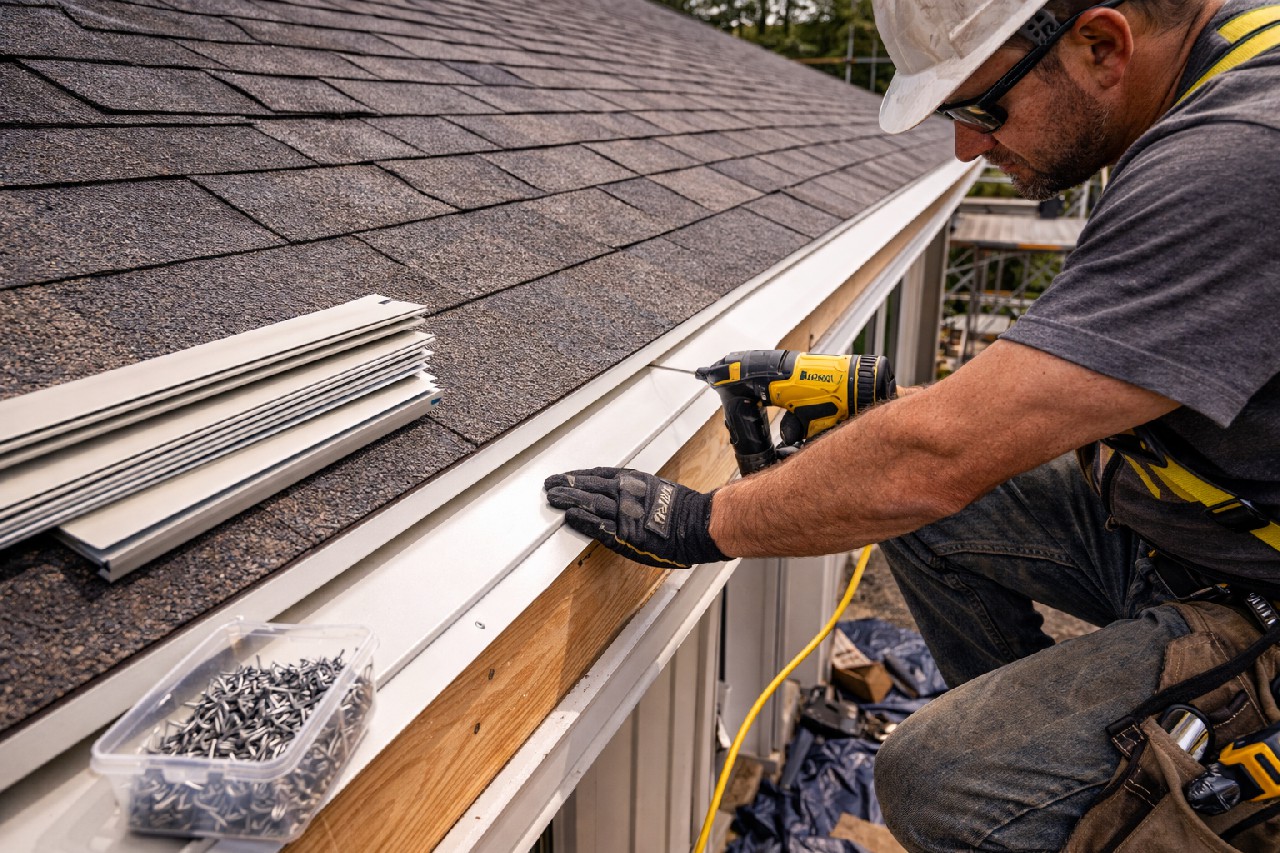
Essential Tools and Materials for DIY Shield Installation
Stock up right, or your install turns into a headache. Garland roofs demand gear that handles Texas humidity and surprise freezes without fail.
Skip the cheap stuff. Pros swear by these basics to nail a leak-proof job.
Materials That Matter
- Self-adhering ice and water shield – 75-foot rolls cover eaves, valleys, and penetrations. Go for brands like Grace or WIP that stick in damp conditions.
- Roofing nails or plastic cap nails – 1-1/4 inch galvanized, 100-count box minimum.
- Roofing cement or sealant – tube for edges and overlaps.
- Shingles or underlayment – match your roof for seamless finish.
Tools You Can't Skip
- Utility knife with fresh blades – cuts shield clean every time.
- 15-ounce hammer and pry bar – for lifting shingles without damage.
- Chalk line, 25-foot tape measure, and ladder – level lines save your sanity.
- Safety harness, gloves, goggles – one slip on a steep pitch, and it's ER time.
Double-check your haul before climbing. Missing a blade mid-job? You're grounded till Garland Hardware delivers.
Step-by-Step Ice and Water Shield Install Guide for Garland Roofs
Grab your tools and hit the roof on a dry day above 40°F. Garland's mild winters mean no rush, but get it right the first time to dodge leaks. Start at the eaves where ice dams strike hardest.
Prime the Eaves and Valleys
- Clean debris off the roof deck. Sweep away leaves or old granules.
- Roll out the membrane. Cut pieces 36 inches wide, overlapping the drip edge by 1-2 inches.
- Peel the backing slow. Press down firm with a roller, no wrinkles allowed.
Work up from the edge. Butt seams tight, never overlap more than 6 inches side-to-side. Garland roofs handle wind, so seal edges with mastic if gusts worry you.
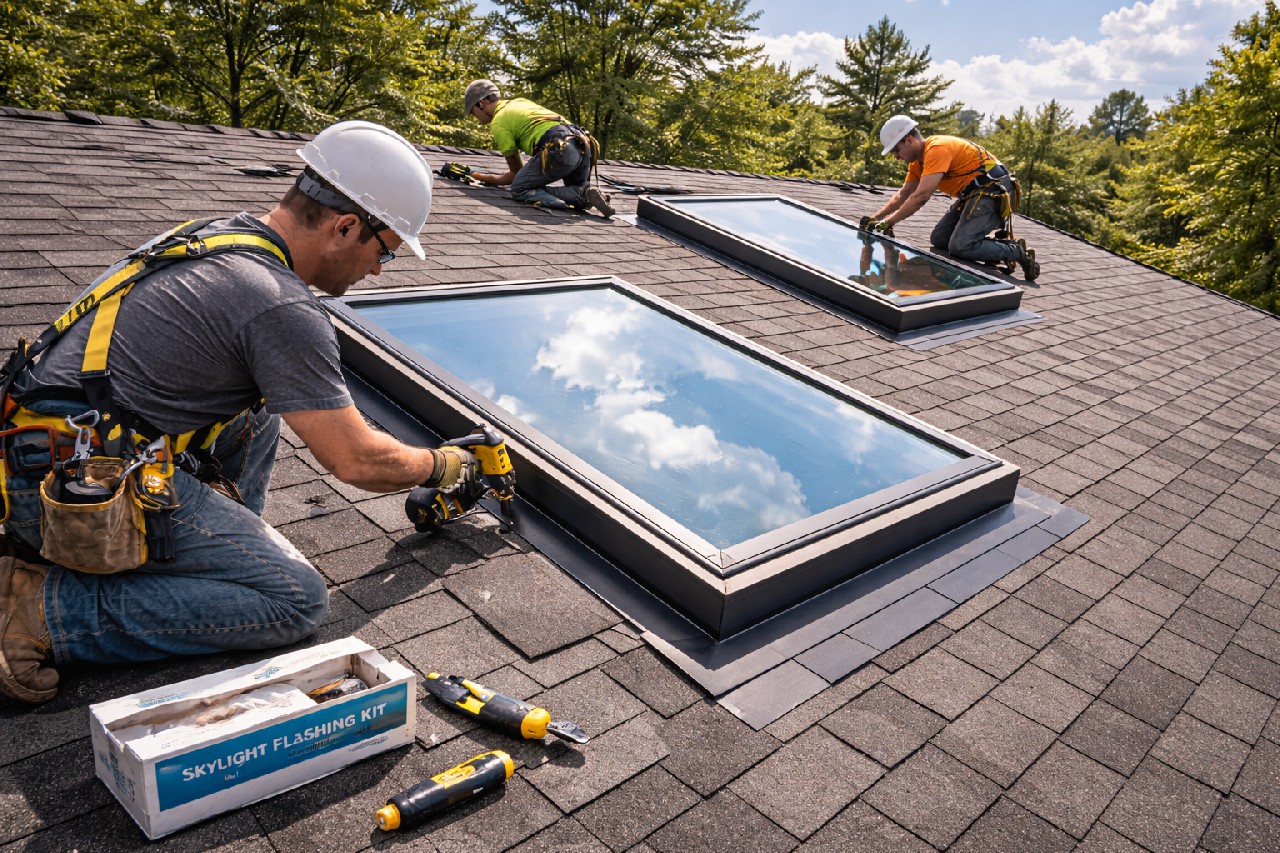
Hit the Hot Spots
- Around chimneys and vents: Flash first, then shield over 12 inches up.
- Valleys: Full coverage, 36 inches wide centered on the valley.
- Penetrations: Wrap pipes snug, cut slits precise.
Nail every 12-18 inches above the membrane only. Shingles go over top next season. Test pull strength. If it sticks like glue, you're golden.
Pro Tips to Avoid Common Installation Pitfalls
Skip the rookie mistake of slapping shields on a dirty roof. Debris or old granules kill adhesion faster than a Texas twister.
Clean that surface spotless first. Use a stiff broom and mild soap if needed. Dry it completely before unrolling.
Overlap Like Your Home Depends on It
- Hit 6-inch overlaps minimum on sides and ends. Less invites leaks.
- Roll from the bottom up, eave to ridge. Gravity's your enemy here.
- Press firmly with a hand roller. No shortcuts.
Texas heat warps cheap shields if you install too early. Wait for temps above 40°F.
Don't stretch the material. It tears and loses stick. Cut to fit, let it relax 10 minutes post-unroll.
Flash those valleys and penetrations tight. One gap, and ice wins.
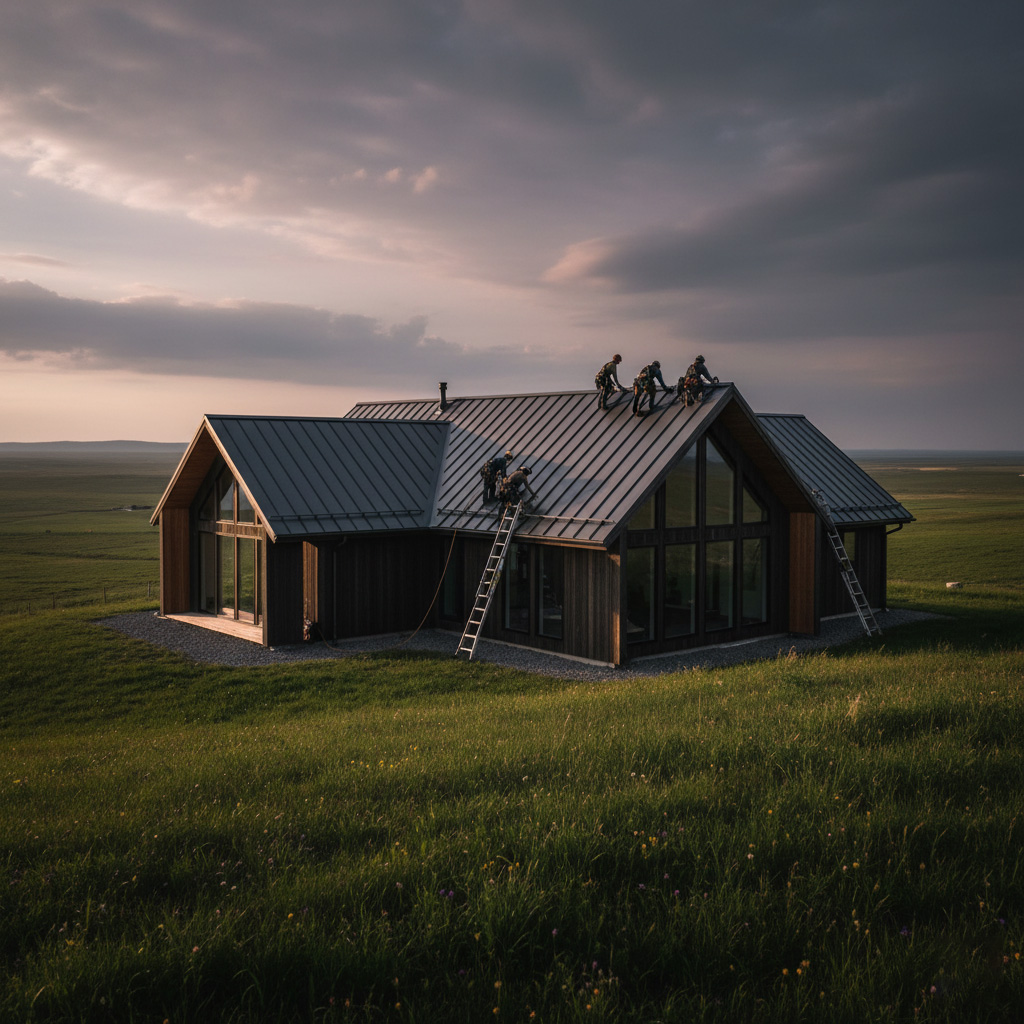
Case Study: Saving a Garland Home from Ice Dam Disaster
Meet Mike, a Garland homeowner with a 20-year-old roof that had seen better days. Last winter, he spotted icicles dangling like swords over his eaves after a rare Texas freeze. Water started creeping under shingles, threatening his attic and family room below.
Mike grabbed our guide and tackled the ice and water shield install himself. He focused on the eaves, valleys, and around chimneys – the hot spots for Garland roofs. No leaks. No panic calls to roofers.
Key Moves That Saved the Day
- Prepped the deck clean, no debris or old granules in the way.
- Applied shields in 25-foot runs for full coverage, overlapping by six inches.
- Used a heat gun to seal edges tight against Garland's whipping winds.
Result? Zero water damage through the next cold snap. Mike dodged a $15,000 repair bill. His roof stands strong now, shields locked in like armor.
Final Words
Garland roofs take a beating from sneaky ice dams. Nail this install right, and you slash water damage risks by 90%. Your attic stays bone-dry through every freeze.
Still sweating the DIY? Call in pros who know Texas roofs cold. They spot issues you miss and wrap it up fast.
- Save hours of hassle.
- Avoid costly redo's.
- Lock in a lifetime warranty.
Boost your defenses today. Check our full lineup on Ice and Water Shield Installation for Garland-specific fixes. Ice dams lose every time.
People Also Ask
What causes ice dams in Garland homes?
Ice dams form when warm attic air melts snow on the roof, which refreezes at the eaves in colder air, creating a dam that backs water under shingles. In Garland's variable winter weather, poor insulation and ventilation exacerbate this issue, leading to leaks. Installing ice and water shields prevents water infiltration by sealing vulnerable roof edges.
How do you install ice and water shield on a roof?
Start by cleaning the roof deck, then apply the self-adhering membrane starting at the eaves, overlapping seams by 6 inches and extending up to 24-36 inches inside the exterior wall line. Press firmly with a roller for adhesion, and cover with shingles or underlayment. For Garland roofs, ensure installation before shingles to protect against ice dam leaks during Texas freezes.
Is ice and water shield necessary in Texas winters?
Yes, even in milder Texas climates like Garland, occasional freezes and snow can cause ice dams, making shields essential along eaves, valleys, and penetrations. They provide a waterproof barrier that traditional felt underlayment can't match. Local roofing experts recommend them for long-term protection against water damage.
Can homeowners DIY ice and water shield installation?
Homeowners with roofing experience can DIY by following precise steps, using proper tools like utility knives and rollers, but safety on steep roofs is critical. For best results in Garland, hire pros to ensure code compliance and warranty integrity. DIY saves money but risks improper sealing if pitfalls are missed.
How much does ice and water shield cost for a Garland roof?
Costs range from $1.50 to $3.50 per square foot, depending on brand and roof size; a typical Garland home might spend $500-$1,500 on materials alone. Professional installation adds $2-$5 per square foot. It's a worthwhile investment to prevent costly ice dam repairs averaging $4,000+.
Garland Roofing delivers roofing services to homes and businesses throughout Garland, TX. With years of hands-on experience, the team manages installations, repairs, and maintenance tailored to local conditions. Rooted in the Garland community, they focus on durable solutions for North Texas weather.
Need Roofing?
Rapid roof repairs and replacements deliver leak-proof protection fast in Garland, TX and nearby areas (75040, 75041, 75042, 75043, 75044).
Get Roof Quote